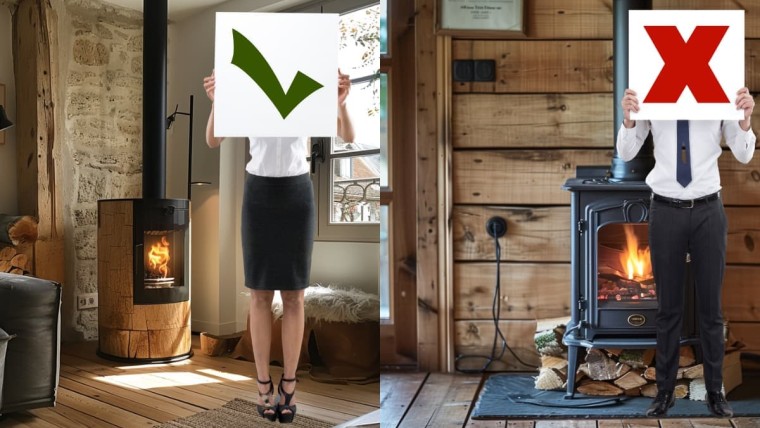
In the face of environmental challenges, pellet stoves are an excellent choice, combining comfort and energy savings. However, it's essential to ensure that it's properly maintained, to keep it running smoothly and to keep your premises safe. In this article, we offer you a guide to sweeping your pellet stove yourself.
ATTENTION: If it's technically possible for you to sweep your pellet stove, you must have it swept every year by a certified professional. It's all in Decree no. 2023-641 of July 20, 2023, which can be consulted online. here. If you don't, you won't have the certificate issued by the chimney sweep, and your insurance may not cover you in the event of a claim.
Case study: why sweep?
To fully understand the benefits of chimney sweeping, let's take a brief look at the basics of how it works. A pellet stove has a combustion chamber where the pellets are deposited and burned. The smoke produced during combustion is then discharged through the flue, also known as the smoke pipe or stove pipe. It is precisely this repeated passage of smoke that clogs the flue and creates soot and tar deposits.
These residues seriously impair stove performance and considerably increase the risk of domestic accidents (fire, carbon monoxide poisoning). So chimney sweeping is a crucial preventive measure to ensure optimum, safe use of your stove.
Regulations: how often do I need to have my chimney swept?
The French Code de la Construction et de l'Habitation stipulates that every occupant of a dwelling equipped with wood-burning heating must have the condition of his or her flue checked at least once a year, known as the "annual sweep". If your pellet stove is used as your main heating system, it's advisable to have it swept a second time before winter, to anticipate any problems that may arise during the heating season.
It is also possible to use the chimney sweeping granules This is a relatively recent practice, and should be carried out between 2 and 3 times during the winter to improve your stove's overall performance, while limiting soot and the risk of house fires.
DIY chimney sweeping solutions and kits on the market
There are 2 main ways to sweep your stove:
- Calling in a professional This is the simplest solution for ensuring a job well done, but it can be quite expensive if you have several installations to maintain.
- Do the sweeping yourself This requires more time and know-how, but could prove economical in the long term with the investment of an appropriate kit.
If you opt for the latter, here are some essential tools for effective sweeping:
- A hedgehog specifically for pellet stoves,
- From canes (length and flexibility to match flue height),
- From gloves and safety glasses,
- A vacuum cleaner with specific filter to avoid any risk of particles flying off.
Procedure: key stages
Before you start sweeping, make sure your stove has been switched off for a few hours. To proceed safely, it's essential that the stove has cooled down, especially the ash pan.
Here are the main steps to follow:
1. Isolate and protect the smoke zone
- Preparing the space : Start by clearing the area around the stove. This means moving furniture, carpets and anything else that might be affected by dust or soot.
- Use of tarpaulins : Lay large tarpaulins around the stove. These will protect the floor and surrounding objects from ashes and soot that may be scattered during cleaning.
- Securing the area: Make sure the tarpaulins are securely fastened to prevent them from slipping or shifting. Use tape if necessary to secure them.
- Preparing cleaning tools : Provide a container for the ashes. This container must be made of metal or a non-flammable material to avoid the risk of fire.
- Wearing personal protective equipment : Before you start cleaning, don't forget to wear personal protective equipment such as a dust mask, gloves and goggles to avoid inhalation of fine particles or eye contact.
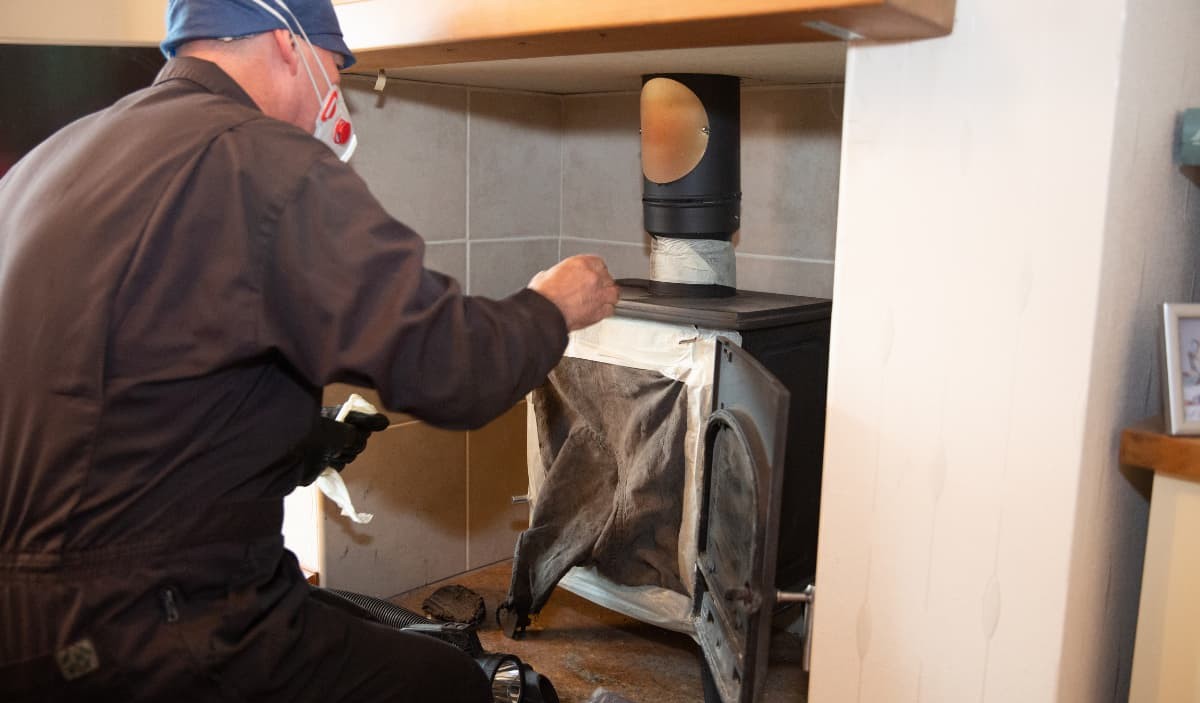
2. Flue access and general inspection
- Location of access plate : Find the stove's access plate, which is usually located on the top or back of the stove. This plate provides direct access to the flue.
- Opening the access plate : Use the appropriate tools to open the plate. Be sure to do so gently to avoid damaging the stove or flue.
- Visual inspection : Once the plate has been opened, carry out a visual inspection of the duct. Use a flashlight to get a better look inside.
- Check duct condition : Carefully examine the top and bottom of the flue. Look for signs of damage, such as cracks, holes, or excessive soot and ash build-up.
- Deposit identification : Watch out for heavy deposits. Soot and ash can build up and form obstructions, which can be dangerous as they can lead to chimney fires.
3. Progression of the hedgehog through the flueMaterial preparation : Make sure you have a complete chimney sweeping kit on hand, including hedgehog (a round, rigid brush), chimney sweeping rods and personal protective equipment (gloves, mask, safety glasses).
- Hedgehog insertion : Insert the hedgehog into the lower part of the flue. Make sure it is securely attached to the chimney sweep rods.
- Chimney sweeping : Start pushing the hedgehog into the flue using circular movements. These movements help dislodge soot and ash deposits that have built up on the flue walls.
- Smooth progress : Advance slowly, adding sections of cane as you progress through the conduit. It's important to proceed with care to avoid damaging the conduit.
- Complete cleaning : Continue the process until you have reached the top of the duct. Make sure all deposits have been properly removed.
- Hedgehog removal : Once the sweep is complete, gently remove the hedgehog from the flue, taking care not to disperse any soot residue.
4. Final cleaning and reassembly of components
Once the cleaning is done, it's time to clean up:
- Cleaning residues : Use a suitable vacuum cleaner to remove the soot and ash residues that have accumulated during chimney sweeping. Be sure to use a vacuum cleaner designed for ashes, as it is equipped to handle fine, hot particles.
- Wall scraping : If traces of soot persist, use a scraper to gently clean the walls of the flue or combustion chamber. Be careful not to damage the surfaces.
- Reassembling the components :
- Stove profile connection : Refit the stove's profile connector. Make sure it is properly aligned and fits snugly to prevent smoke leakage.
- Conduit access plate : Screw the flue access plate back on. Make sure it's properly sealed to prevent smoke from escaping.
- Support flange on tube : Replace the support flange on the tube. It must be fastened firmly to hold the tube in place.
- Spring and bolts with washer : If springs and bolts with washers have been removed, refit them, making sure they are tight for a secure fit.
- Final check : After reassembly, inspect the assembly to ensure that everything has been correctly repositioned and secured. Check connections for play or movement.
- Waste disposal : Dispose of ashes and residues properly. They should be placed in a non-flammable container, away from combustible materials.
- Safety control : Before relighting the stove, perform a final check to ensure that everything is working safely and correctly.
Forgotten chimney sweeps: what should I do if I've missed my legal obligations?
As a responsible owner or occupier, you not only have a moral and financial obligation, but also a regulatory one in terms of fire/gas safety. In the event of an accident for which you are found liable, your insurer may legally reduce or even refuse to cover the related damage.
It is therefore in your best interest to carry out and document your chimney sweeping operations conscientiously. The verification process itself, regular contact with your supplier and the transmission of all useful information are all exhaustive and formal proof that you need to keep so as not to be caught unprepared in the event of a claim.

Julien G.
Juliena mechanical engineering graduate and specialist in climate engineering since 2009, has become a writer specializing in renewable energies, with expertise in heat pumps and photovoltaic solar panels for individual housing.
See all articles by this author