You're looking for information on air-to-water heat pumps or air-to-air heat pumps, and you're probably wondering about the ideal location for the outdoor unit that will capture the calories in the outside air.
In fact, it is the central element of the installation:
- It is him who will ensure your energy savings by capturing the free calories in the air.
- This is the one that can potentially cause problems because of aesthetics.
- It's the one that can land you in an unfortunate lawsuit. because of the noise It's all about the sound it creates, either because the machine is of poor quality, or because we've forgotten to calculate distances to neighbors or take reverberation into account.
So it's a good idea to think carefully before choosing the perfect location.
But this location depends on many factors, and will be different for every situation. That's what we'll be looking at in the rest of this article.
Stick around until the end to pick up a couple of tips to help you improve your outdoor unit installation.
The heat pump's outdoor unit AND neighbourhood constraints
Neighbors are often the primary cause of forced abandonment of a heat pump heating project, sometimes resulting in years of court cases that take their toll on you both physically and mentally. We've been there, we've seen it, and we can tell you that it's in your best interest to plan ahead to avoid them.
Distance to be respected from property lines
Although some countries recommend distances from neighboring property lines when installing a heat pump - e.g. 3 meters in Germany, 20 meters recommended in France or Switzerland - the question of distance is not really central, as long as the noise generated remains within the norm.
Instead, focus on the noise that reaches your nearest neighbors' first living-room window. Vary the distance as far as possible to reduce the noise.
Noise levels to be observed in relation to neighbors when installing a heat pump outdoor unit
In France, deviations from ambient noise are mandatory. During the day, it is forbidden to generate more than 5dBA above ambient noise in your residential area, and at night this drops to 3dBA. (Article R. 1336-7 of the French Public Health Code).
In Switzerland, the noise form must be complied with in order to obtain planning permission. This is a guarantee that the heat pump complies with the standard: 55dBA not to be exceeded during the day and 45dBA at night. You can simulate the result on this pagehttps://www.fws.ch/fr/cercle-bruit/
In other countries, there are no such regulations, but in order to avoid problems, it's advisable to stand about twenty meters away if possible.
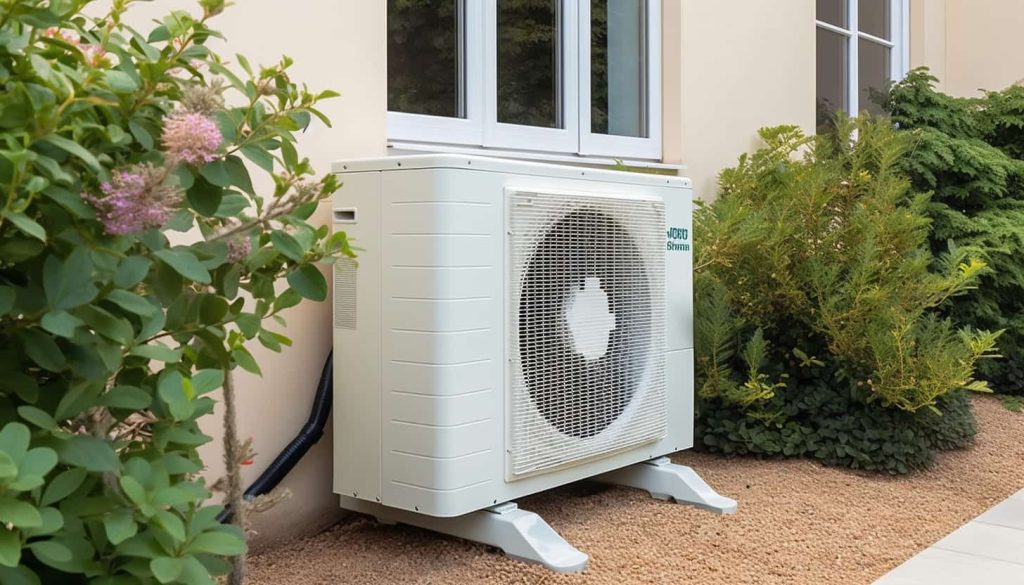
Heat pump outdoor unit AND aesthetic / practical considerations
Whether you own your own villa, or live in a condominium, aesthetics are often the number-one concern for you and your neighbors.
Preserving the visual environment of your garden and home
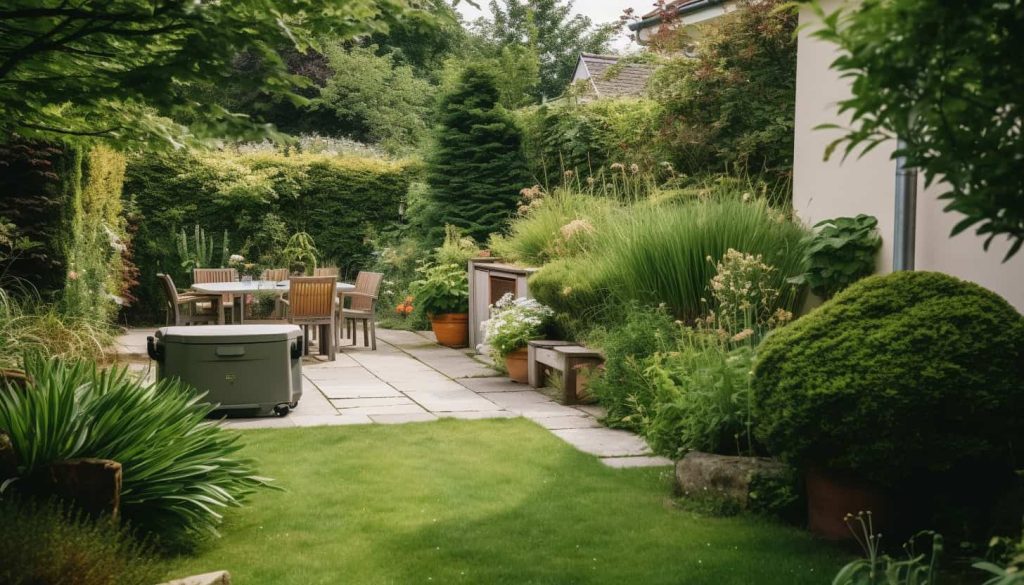
After all, no one wants an intruder to disrupt the harmony of their little corner of paradise. That's why we've come up with 3 tips to keep things running smoothly:
- You can conceal the outdoor unit with plants, on two conditions: a) Do not obstruct air circulation around the front of the unit. b) Leave room for maintenance.
- You can also use what are known as caches clim or caches pompe à chaleur. These consist of wooden trellises or shelters that cover the heat pump's outdoor unit, hiding it from view. You can choose the material to match the facade of your home. A chalet is more likely to opt for wood, while a white townhouse is more likely to go for a white metal look.
- Place the outdoor unit in the most unobtrusive location possible, at the right distance from neighbors to avoid acoustic interference.
Avoiding traffic areas
- It is advisable to position the outdoor unit away from any areas frequented by pedestrians or family members. This will allow :
- To avoid an accidental collision with a playing child, a pedestrian or a car that could result in a lawsuit. You never know.
- Avoid vibrations that could damage the heat pump
2. In addition, it's important to remember to pour a concrete slabAlternatively, you can install the heat pump on big feet, which are large anti-vibration pads that protect your outdoor unit from flooding or other shocks.
3. While the machine should not be passed frequently, it should still be easily accessible, especially for the technician who will be passing by to carry out maintenance. The space around the machine is also important to ensure good air circulation and optimal operation. To this end, we've written an article about the distance between the heat pump outdoor unit and the wall of your homefor front-mounted machines.
Weather and orientation considerations for the Air-to-Water or Air-to-Air heat pump outdoor unit
As the outdoor unit is continually exposed to Nature's sometimes harsh conditions, there are several points to pay attention to in order to maximize the return on your investment, or your energy savings.
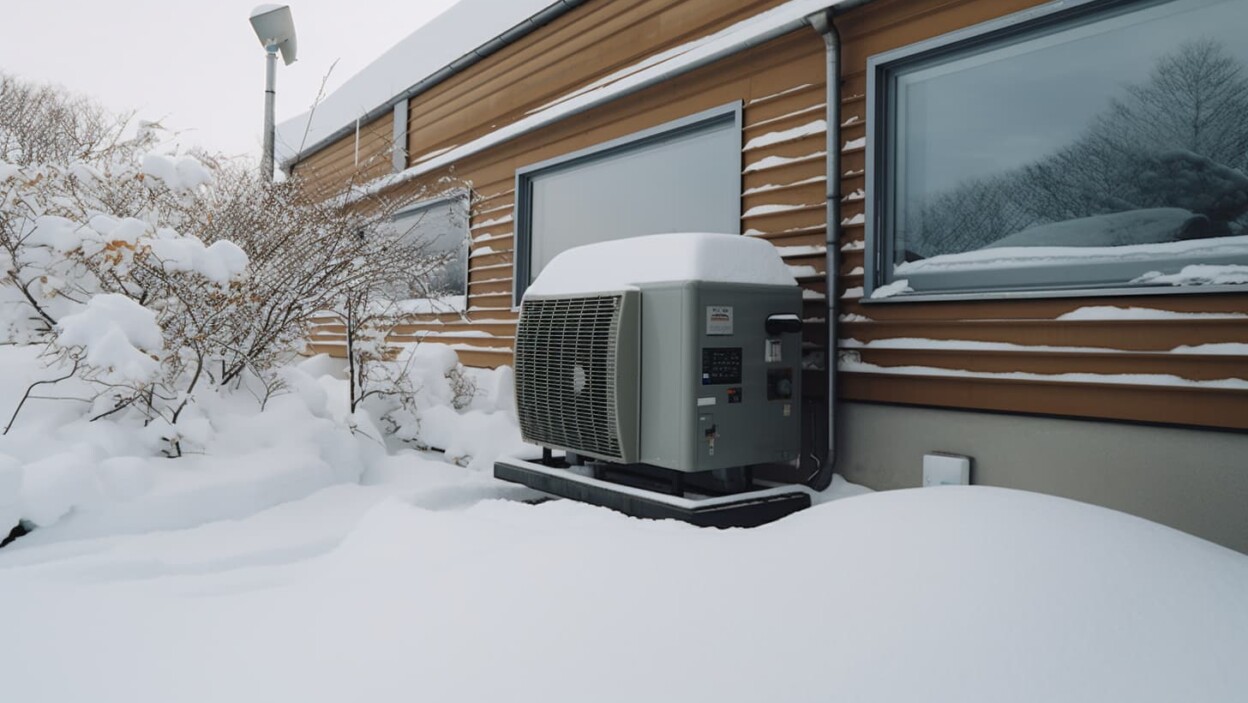
Protecting the outdoor unit from the elements (snow or frost)
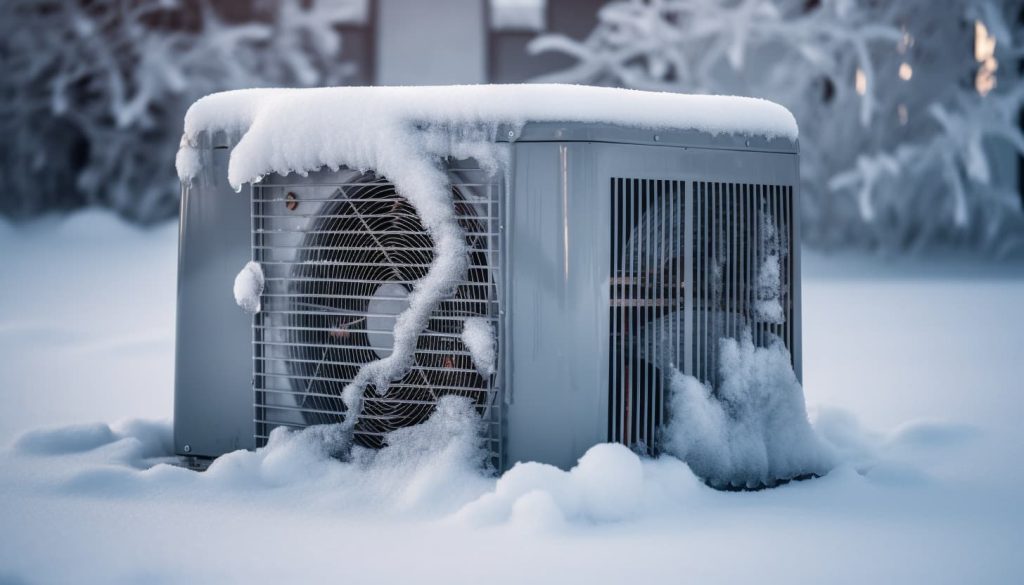
Depending on your country or region, the climate can vary greatly. It is important to protect the outdoor unit from snow and frost, mainly for 5 reasons:
- You preserve performance by preventing a layer of ice from forming on the evaporator, preventing normal operation.
- You prolong the machine's service life, as it is less exposed to corrosion and wear of parts due to harsh conditions.
- You avoid too many breakdowns, such as fan blockages due to snow, or other breakdowns caused by poor condensate drainage.
- It's easier to maintain, and less likely that you'll have to replace expensive parts over the long term.
- It's more secure: frozen condensation water can turn your driveway into a skating rink, ice can fall from the roof onto the machine and break it or injure someone.
For all these reasons, it's a good idea to install the outdoor unit a little higher than the ground to prevent snow or water from accumulating around it, and to make condensate evacuation easier whatever happens.
It would also be excellent, but a little expensive, to install the heat pump under a shelter, while maintaining good air circulation. We often see wooden mini-shelters, with a small roof.
Finally, especially in cold weather, check the condition of the outdoor unit as you pass it, and clear snow if necessary. Defrost by hand if automatic defrosting is not available, or ineffective.
Install the outdoor unit away from prevailing local winds
In many parts of Europe, the prevailing wind direction is west-southwest, but in some regions it's completely different. Whatever the wind in your area, a little research and observation will tell you which direction it's blowing, and help you find the most protected location for your outdoor unit.
This is important for several reasons:
- Optimize performance, as strong winds disrupt airflow and can reduce heat pump efficiency by reducing heat exchange capacity.
- Strong winds can wear out machine components more quickly and increase your maintenance costs.
- Strong winds can cause more noise and vibrations in the machine...so you can reduce the nuisance...
You can use natural obstacles such as hedges, trees and walls to protect your machine from the wind.
Finally, if no other solution is available, a wind screen can be installed to ensure that the heat pump functions properly and delivers good energy performance despite strong winds.
The ideal orientation for optimizing the defrost cycle
Northern exposure for your heat pump? A good idea? The answer is no. Unless you have no choice. It's much better to orient the outdoor unit to the south or west.
The idea is to take advantage of maximum sunlight to promote natural defrosting of the heat exchanger if it becomes icy.
Furthermore, avoid positioning the heat pump's outdoor unit under a roof or in any shaded area. This is a recipe for too much ice on the heat exchanger, limiting performance and thus increasing electricity consumption.
Of course, all modern heat pumps are equipped with a defrost cycle, either by cycle inversion or hot gas bypass. But it's best to do what you can to avoid frequent freezing due to a poorly chosen location.
If you've chosen the wrong location and realize it after the first season, it's never too late to change the orientation. But it may involve some work and expense.
Two tips to improve outdoor unit installation
The semi-open room
A very good first step is to consider a semi-open space to install the outdoor unit. This will simply protect the heat pump from the wind. This room could also be a carport or an awning, or anything else you find useful. However, you'll need to ensure air circulation, even if it means installing ventilation grilles in the room.
Bottom tracer or heating cable if heat pump is exposed to the North
If you've found no other solution than to install the heat pump to the north, then you're exposed to frost and reduced heat exchange and performance in cold weather.
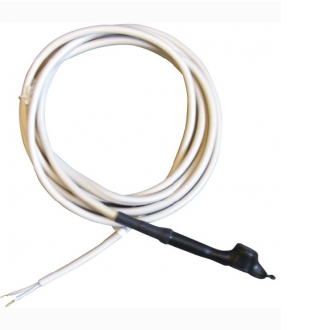
You can therefore install a tracer at the bottom of your outdoor unit's condensate tray. This consists of an electrical resistor that heats up the bottom of the pan, accelerating defrosting. The heat pump then resumes normal operation more quickly, when it's cold and heating is really needed.
Several manufacturers offer these tracers, also known as heating cables. Delta Dore, Raychem...your installer will find them at his favorite wholesaler. They cost between €50 and €200 each.
Summary
After all that advice, I figured that those in a hurry would never have time to read it all, so here's a summary in table form of the tips for WELL installing your heat pump outdoor unit:
| Advice | Explanations |
|---|---|
| 1. Respect the distances with the neighbors | Observe local regulations on distances and noise to avoid problems with neighbors. |
| 2. Taking aesthetics into account | Use plants, air-conditioning covers or a discreet location to conceal the outdoor unit and preserve the harmony of your surroundings. |
| 3. Avoid high-traffic areas | Install the outdoor unit away from busy areas to avoid accidents and vibrations. |
| 4. Provide easy access | Ensure easy access to the outdoor unit for maintenance and servicing. |
| 5. Weather protection | Install the outdoor unit elevated and/or under cover to protect it from snow, frost and other weather conditions. |
| 6. Protect yourself from prevailing winds | Take into account the prevailing winds in your area and use natural barriers or install a windscreen to protect the outdoor unit. |
| 7. Choose an optimal orientation | Orient the outdoor unit towards the south or west to take advantage of sunlight and facilitate defrosting. Avoid excessive shade. |
| 8. Tip: the semi-open room | Consider a semi-open room to protect the outdoor unit from the wind, while ensuring good air circulation. |
| 9. Tip: bottom tracer | Install a bottom tracer or heating cord to speed up defrosting of the outdoor unit, especially if it faces north. |

Julien G.
Juliena mechanical engineering graduate and specialist in climate engineering since 2009, has become a writer specializing in renewable energies, with expertise in heat pumps and photovoltaic solar panels for individual housing.
See all articles by this author